Celebrate Spring by sewing a “tulip wrap skirt.” This skirt is easy to make and can be customized with all different fabrics and prints. This can work as a beach cover-up or use it to dress up any occasion. I drafted the pattern so you'll learn a bit of pattern making skills as well. Get the tutorial below on how to sew a wrap skirt.
Supplies:
- Brother SE1900 Sewing Machine
- 1-2 yards of fabric (most fabrics will work – I’m using a gauze fabric)
- Curved ruler
- Fabric marking tool
Step 1:
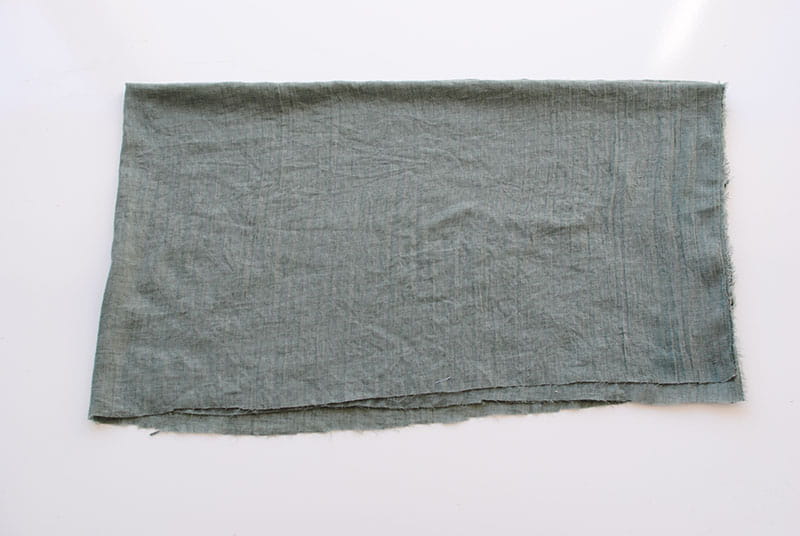
The fabric width should be your full hip measurement + 15”. For example: my hip measurement is 40" then that plus 15" = 55" wide. The length is up to you, mine was about 18" long.
I’m using a full yard of fabric for this (60” wide). If you need more width, you will just cut along the lengthwise grain. Fold the fabric in half long ways and then in half again. The folded edges should be on the top and the raw edges on the side and bottom.
Step 2: Step 2b
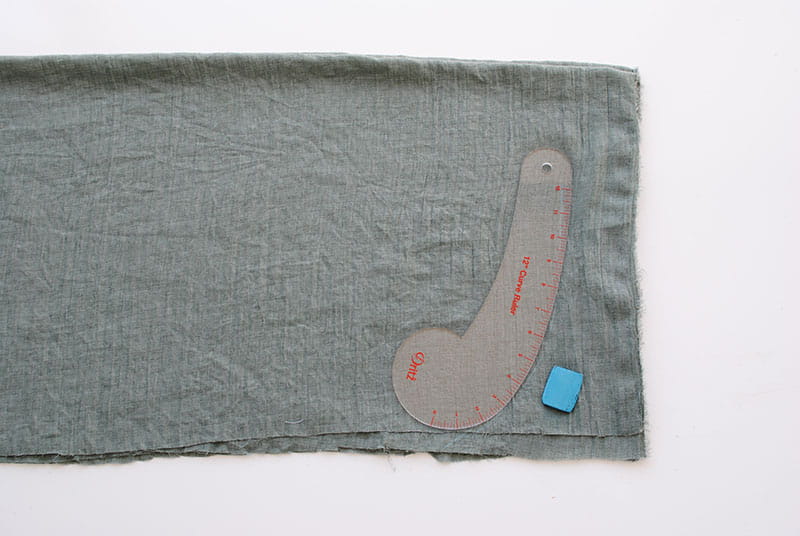
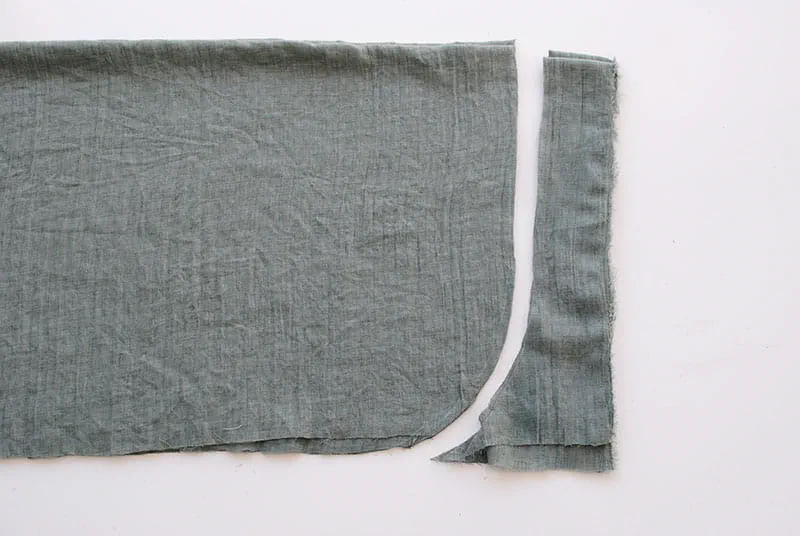
Use a curve ruler and a fabric marking tool to draw out a curved edge on the bottom corners and cut. You can also just free hand this.
Step 3:
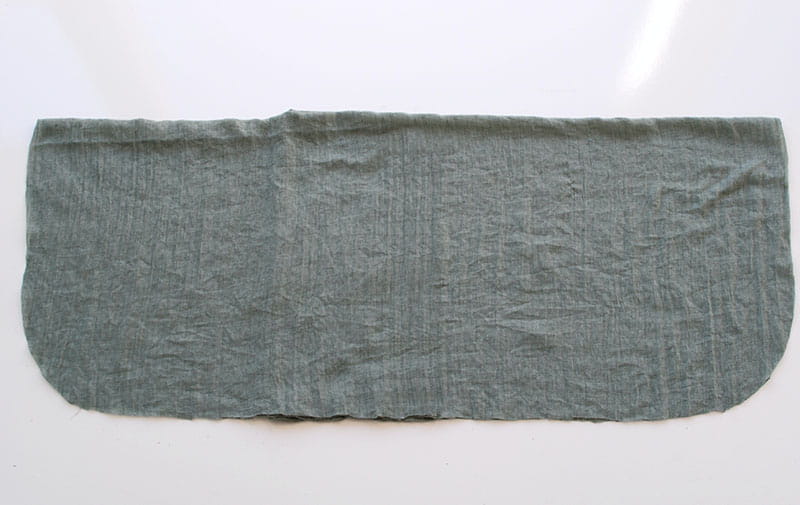
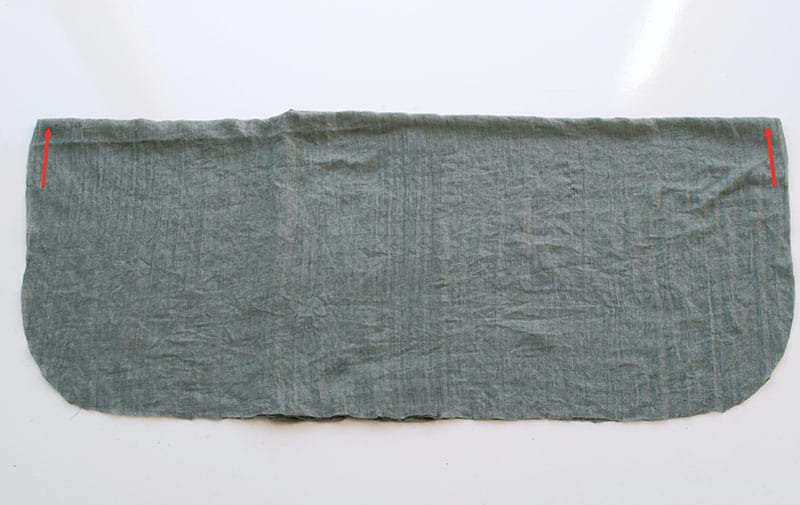
Open the fabric out and it should look like this. Fold is still at the top.
Step 4: Step 4b
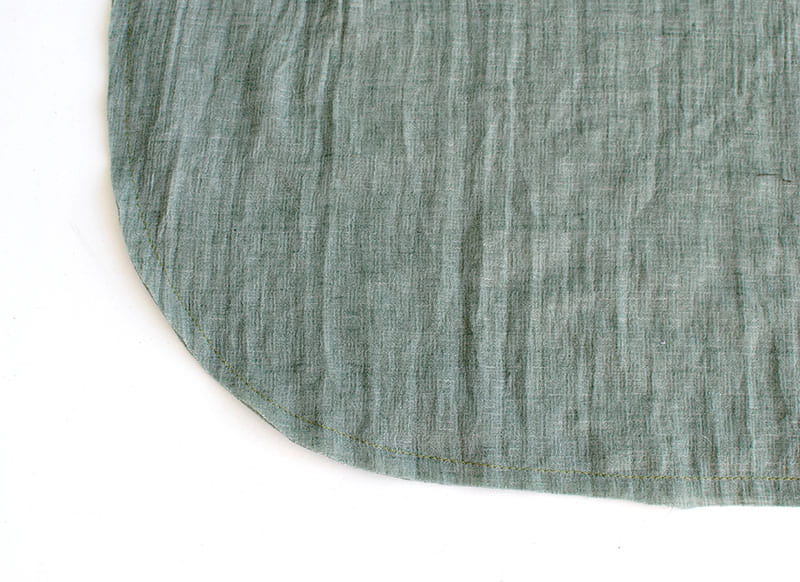
Make sure right sides are facing and stitch (1/2” seam allowance) all the way around leaving 4” open for each top corner. (red arrows)
Step 5:
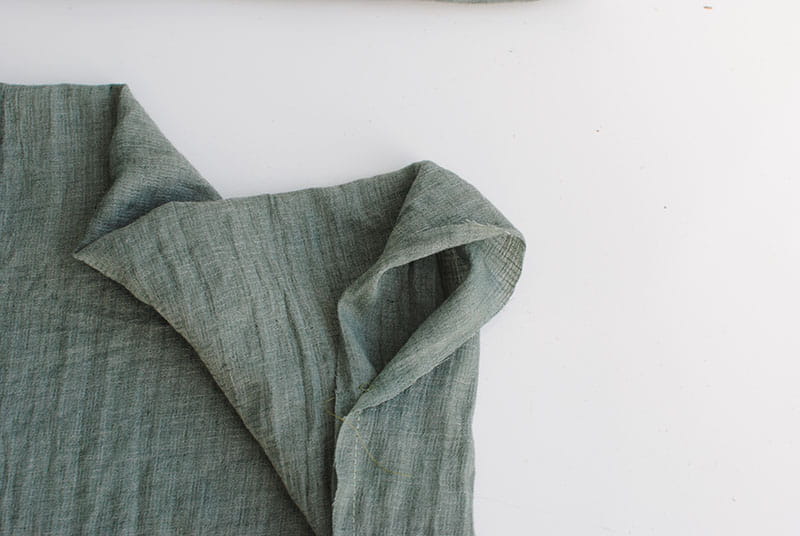
Clip curves. Flip right sides out through one of the opening 4” sides. Press.
Step 6: Step 6b
Sewing the tie straps:
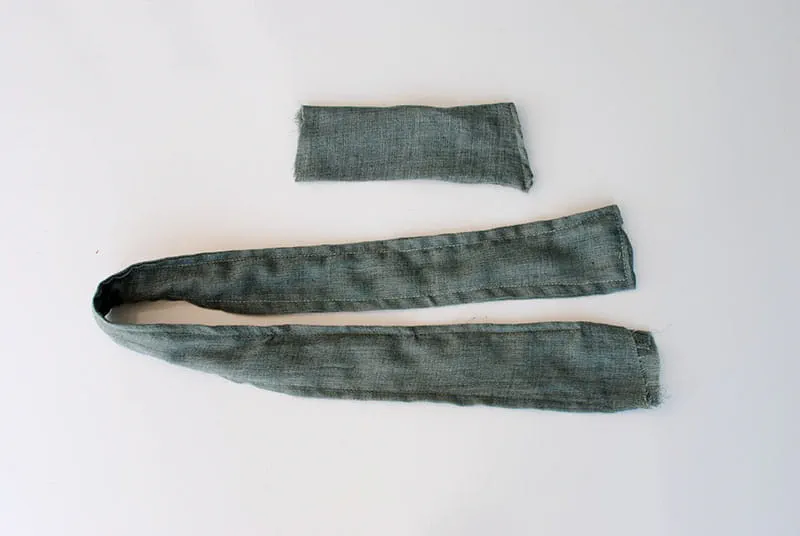
Cut 2 strips of fabric that measure 8” wide by your hip measurement and a shorter strip 8” wide by 6”.
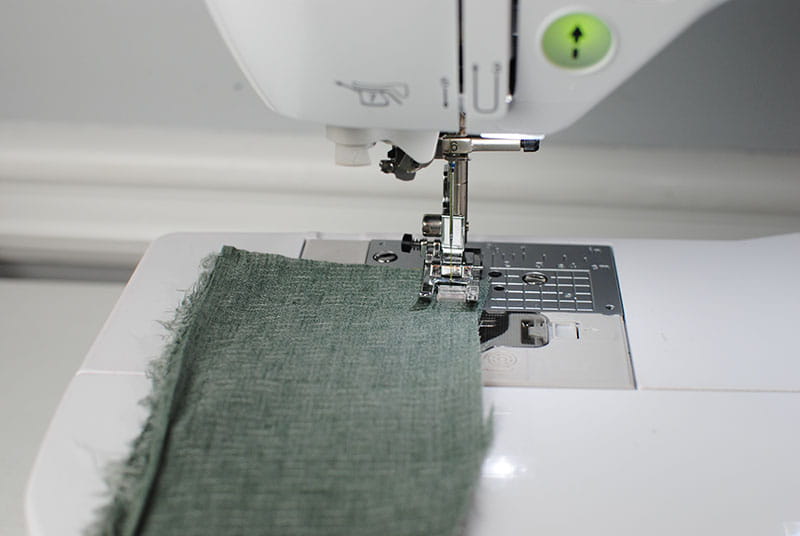
Fold in half so right sides are facing, then sew the long side of each and flip right sides out. Press.
Step 7: Step 7b
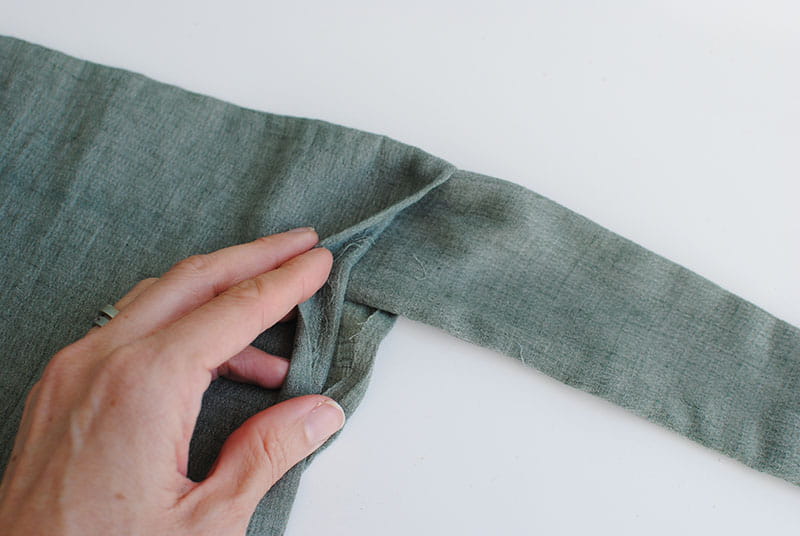
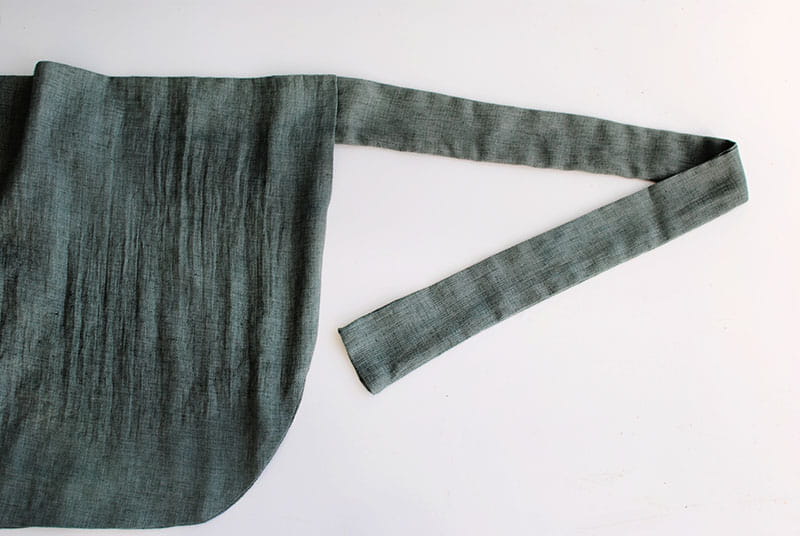
Place strips in openings: long side on left and short side on right (doesn’t matter either way though).
Step 8:
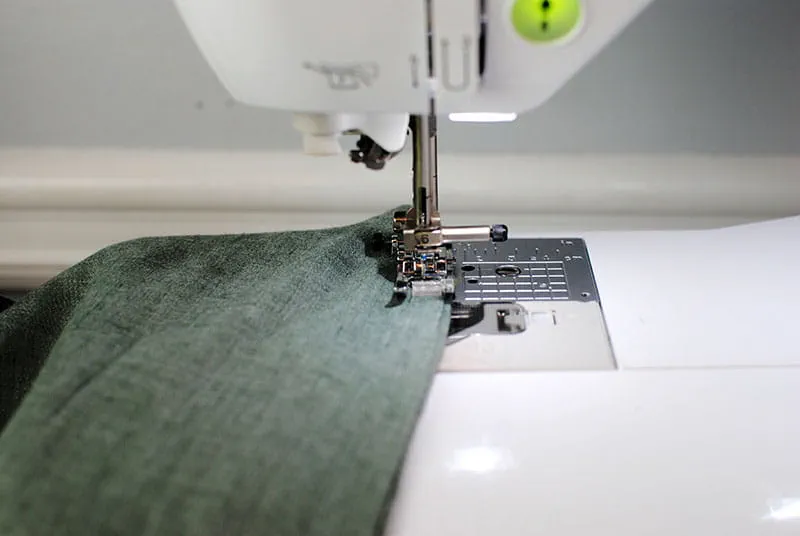
Topstitch all the way around securing the tie strips. (1/4” hem allowance).
Step 9:
Add darts in the back:
Fold finished piece in half to get center back.
Step 10:
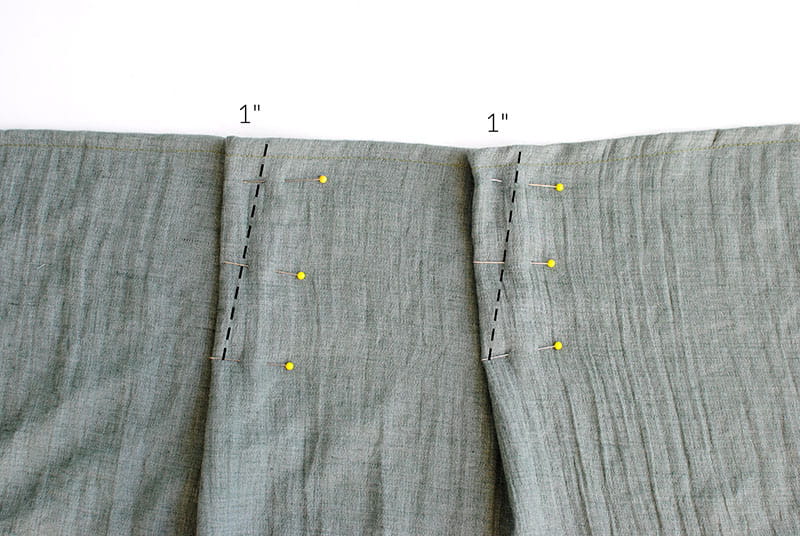
Mark. 3.5” over in each side add a 4” dart. The fold should be about 1” in width.
Step 11:
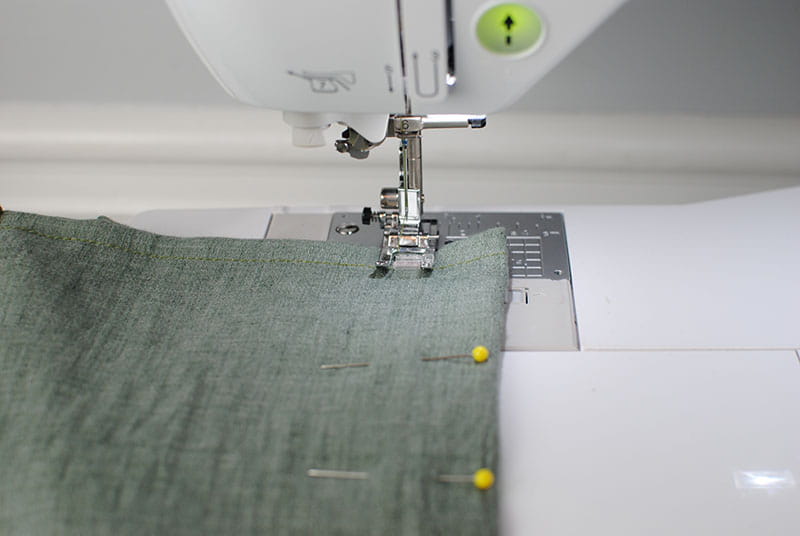
Sew the darts in place on each side, starting from the top and going down to the tip.


No comments:
Post a Comment
Note: Only a member of this blog may post a comment.