![]() I wanted to try a unique style bag and have been seeing the Japanese Knot bags around. The Japanese Knot bag is simple to make and can be made in all kinds of fabrics. One handle is about 2” longer than the other so you slide the longer side through the shorter side to create the “knot” closure. I had some Shibori fabric pieces I patch worked together to make the bag with. You can watch the video of how to do these shibori hand dying techniques here. This bag can also be made reversible too! Get the details below on how to sew a Japanese Knot Bag.
I wanted to try a unique style bag and have been seeing the Japanese Knot bags around. The Japanese Knot bag is simple to make and can be made in all kinds of fabrics. One handle is about 2” longer than the other so you slide the longer side through the shorter side to create the “knot” closure. I had some Shibori fabric pieces I patch worked together to make the bag with. You can watch the video of how to do these shibori hand dying techniques here. This bag can also be made reversible too! Get the details below on how to sew a Japanese Knot Bag.
Supplies:
- 1-yard of interior and exterior fabric
- 1-yard interfacing (optional)
- Brother SE1900
- General Sewing Supplies
- Knot Bag Pattern
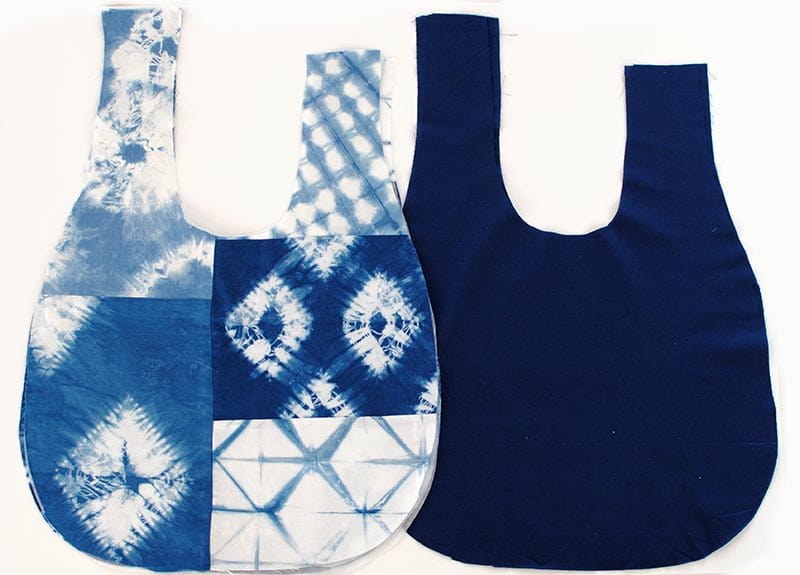
Cut out the pattern from your fabric and interfacing. Press interfacing on main exterior fabric
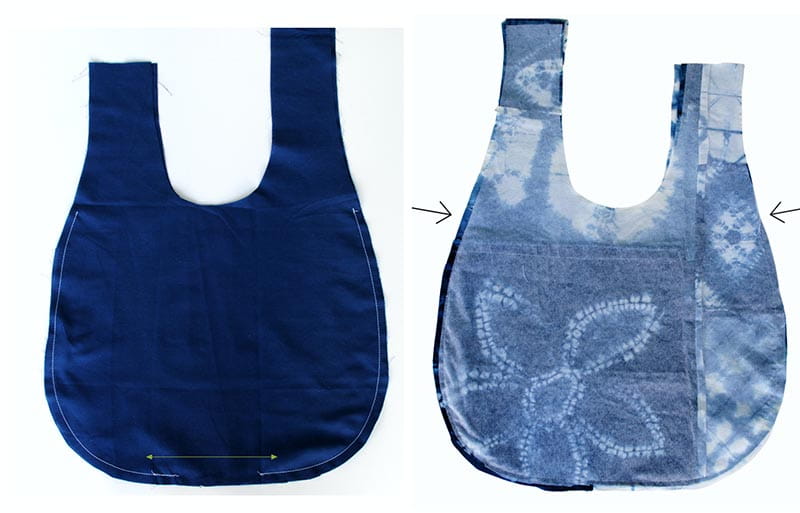

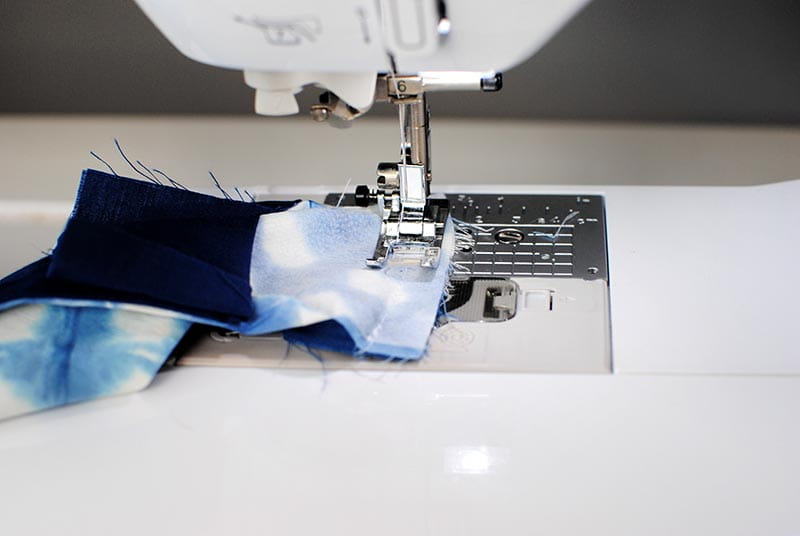
Place pieces right sides together for both main and liner. Stitch from the mark just below the handles from one side to the other (1/4” seam allowance). For the liner leave a 3” opening at the bottom. Clip curves.


Flip liner right side out and place inside the main so right sides are facing.
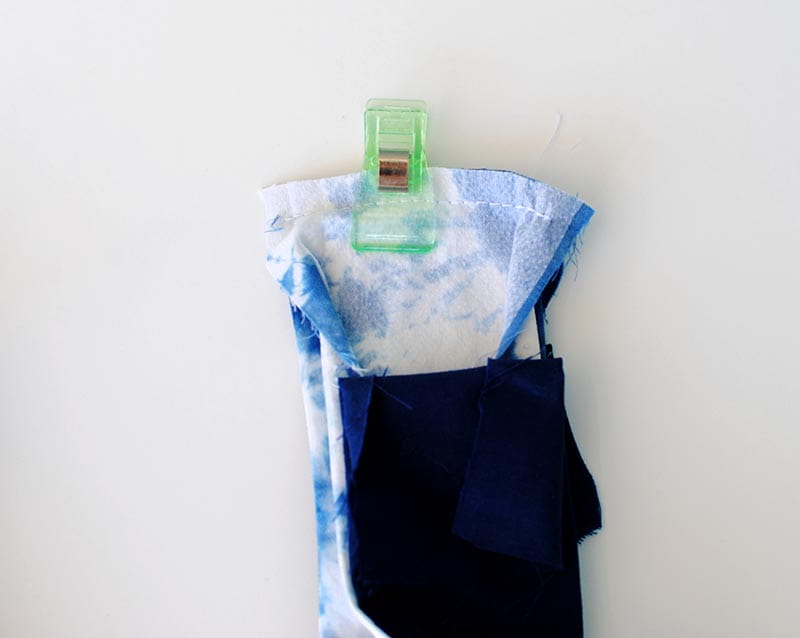
Stitch sides and center leaving the top 2” of each handle open.
It should look like this. Clip curves.
Flip right sides out through liner opening.
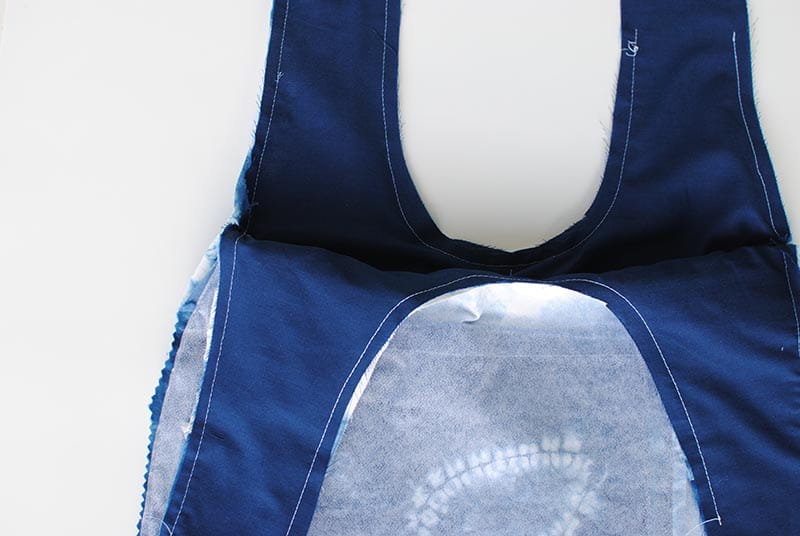
Flip the top edges so right sides are facing and stitch, repeat for the liner.
Give a good press.
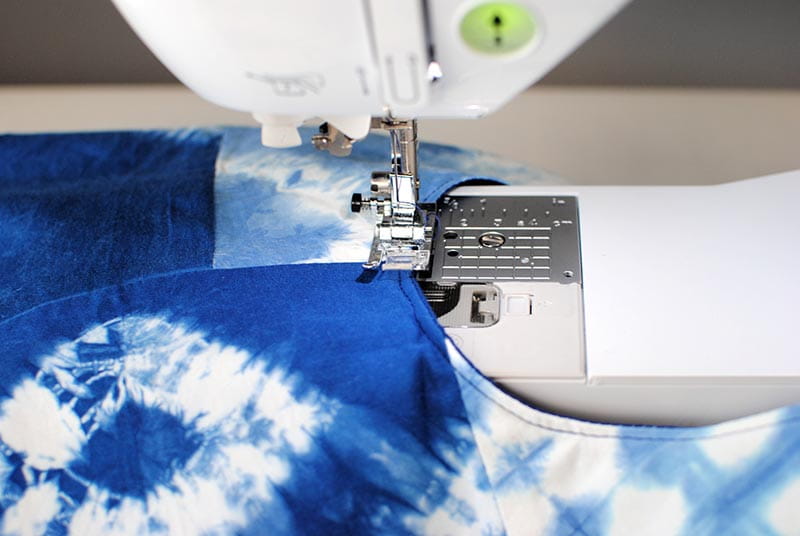
All that’s left to do is topstitch around the edges and sew shut the liner opening.

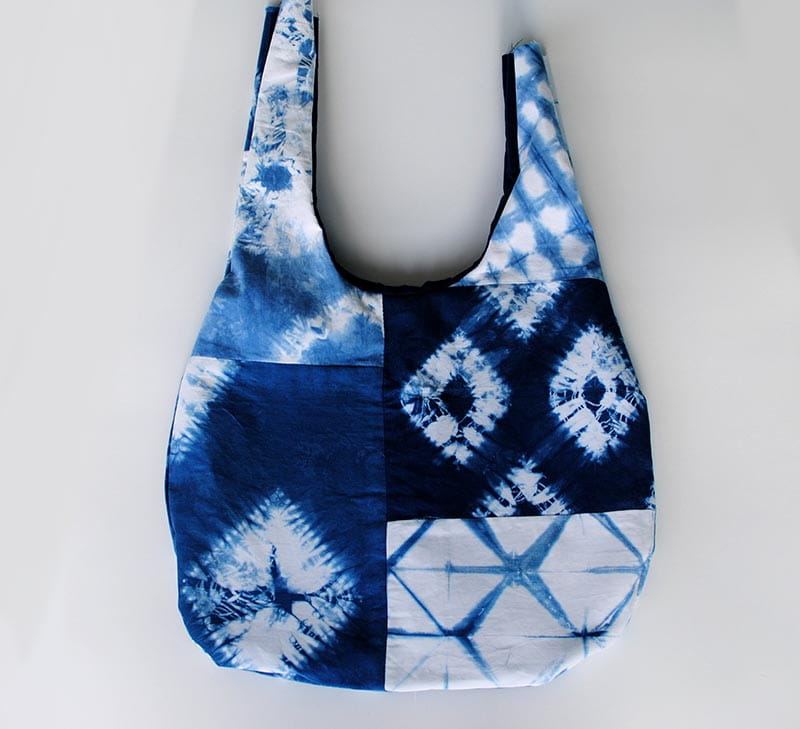
How cute is this?
No comments:
Post a Comment
Note: Only a member of this blog may post a comment.