Lately I've been taking classes at a University. I was always dinging up my laptop in my bag or backpack and I thought I really need a pouch/case. So in "Trash to Couture" fashion I pulled out my sewing machine and made myself one. It's a pretty simple project and requires a couple supplies I had on hand. I will say this gets a lot of compliments so may be a good gift idea as well. The padding keeps it protected and I love a pretty print. Get the details below on how to sew your own laptop pouch/case.
Cutting fabric:
1 x 11.5 x 64" fabric (I used cotton)
or
2 x 11.5 x 32.5" fabric (sew one side together) you can alternate liner/main this way
Stitch one side together (1/2" SA) if you didn't have enough for a long piece or wanted liner/exterior different.
Curve the top edge starting about 3.5" down from the edge. You can free hand or used a curved ruler. I just free handed it.
Sew all the way around with a 1/4" SA. Notice you will need about a 4" opening on the bottom left side to flip right sides out.
Flip right side out through the opening. Press.
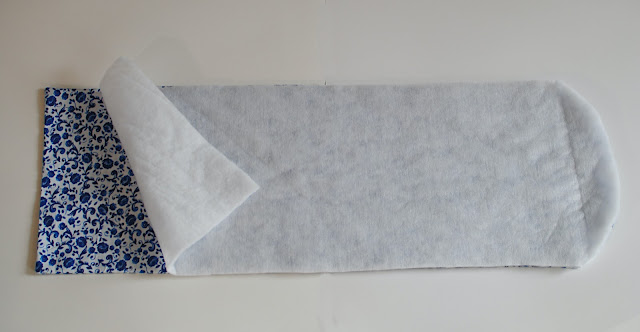
Use your piece as a template to cut a piece of batting out. Mine was 1/2" thick.
Fold batting neatly in half and place inside the opening. This part was a little tedious to get the batting positioned right but once I did it was easy. I wonder if I should of used fusible fleece but I think flipping it right side out would get difficult.
Stitch the opening closed.
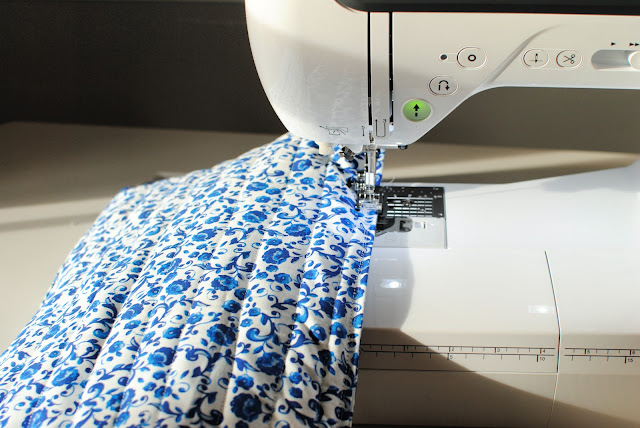
Now it's time to quilt! Starting from top to bottom stitch 2" or so lines. I just did this visually but you can mark them out if you'd like with a marking tool.
Once this is done sew a 1/8 or so around the edge of the whole case.
Fold the case so right sides are facing (for me that was the best quilted side). You may want to place your laptop in to see where you'd like the top flap to be.
Last step: add a closure. I just cut a 2" strip of velcro attachment and top stitched them on. You can also use a button closure or a snap.
It's a good idea to place the laptop in and see where you want the closure to hit.


No comments:
Post a Comment
Note: Only a member of this blog may post a comment.