


Let's get organized or just creative will do. I love sewing these fabric baskets. They can be made in all sizes and fabrics and are useful for anything from kids socks, fabric remnants, toys, a gift basket, and even as a bag. You can add handles or no handles. It's all up to you. Get the details below on how to make a fabric bin/basket.


Let's get organized or just creative will do. I love sewing these fabric baskets. They can be made in all sizes and fabrics and are useful for anything from kids socks, fabric remnants, toys, a gift basket, and even as a bag. You can add handles or no handles. It's all up to you. Get the details below on how to make a fabric bin/basket.
Supplies:
- Brother SE1900
- 1 yd. cotton fabric exterior
- 1 yd. cotton fabric liner
- 1-2 yds. fusible fleece
- General sewing/cutting supplies
- Exterior: 2 pieces that measure 17 (wide) x 13” long
- Liner:2 pieces that measure 17 x 13”
- Fusible Fleece: 4 pieces that measure 17 x 13”
- Strap: 1 piece 17 x 6”
- Fusible Fleece: 17 x 6”
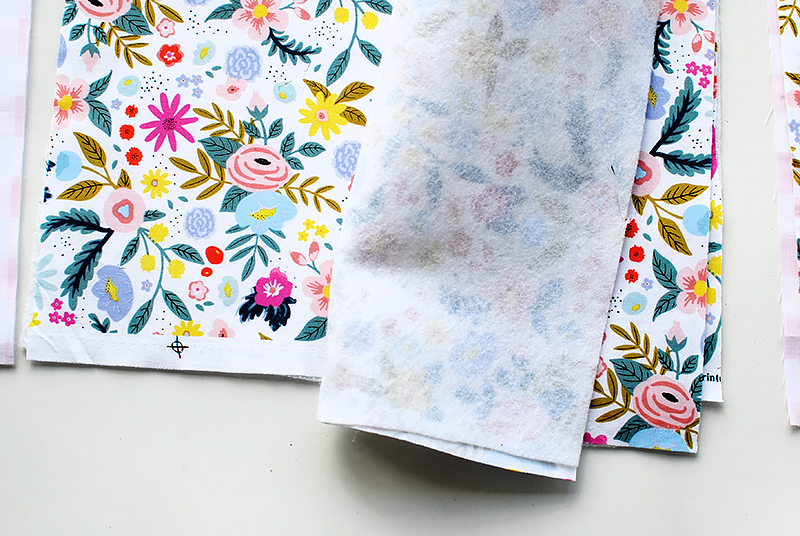 Fuse the fusible fleece to the wrong side of all pieces.
 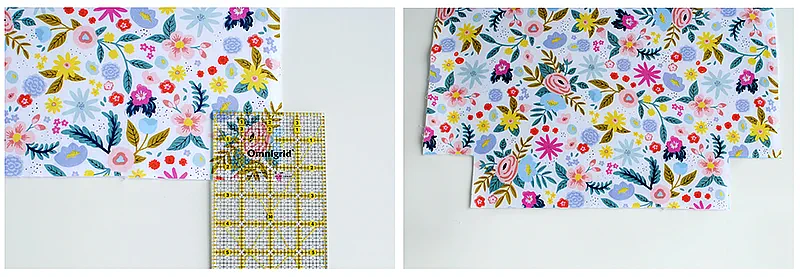 Use a grid ruler and mark off a 3” square at the bottom corners for both exterior and liner and cut.
 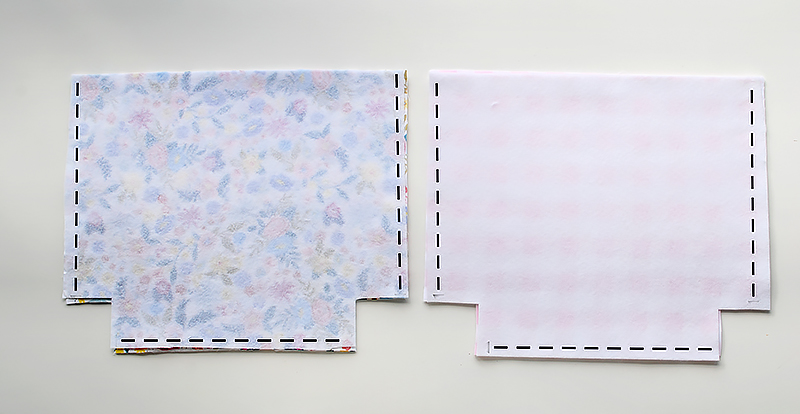 Place exterior and liner pieces right sides together. Stitch the sides and bottoms with a 1/2” seam allowance.
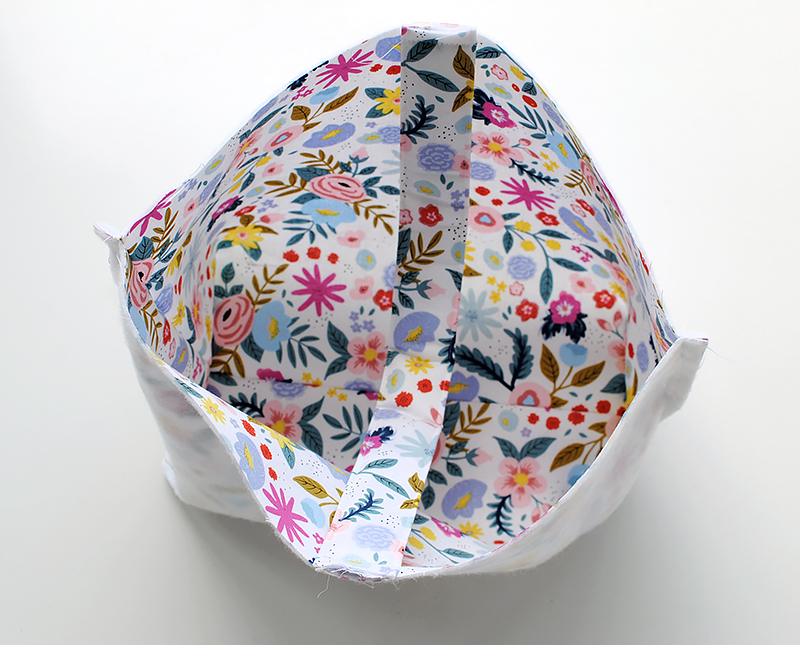
 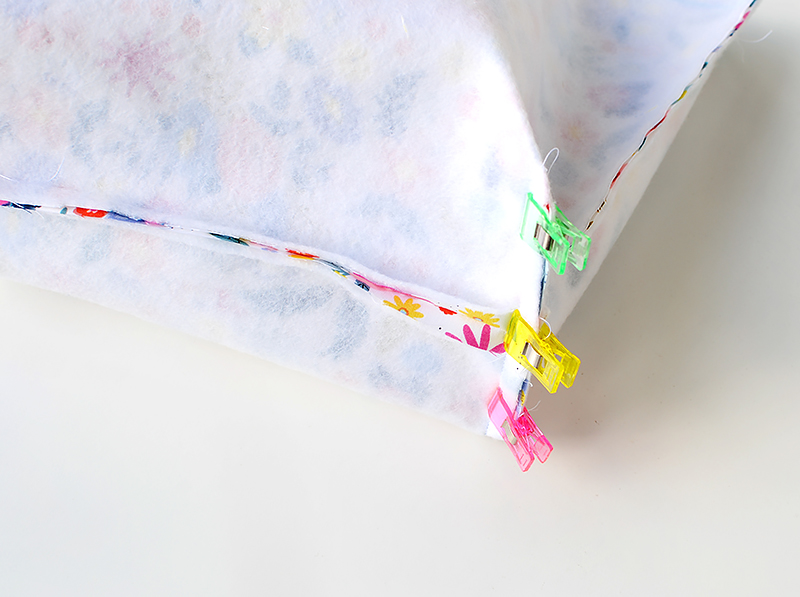 For the corners: With right sides together, connect the seam so it’s centered to the other side and clip or pin.
 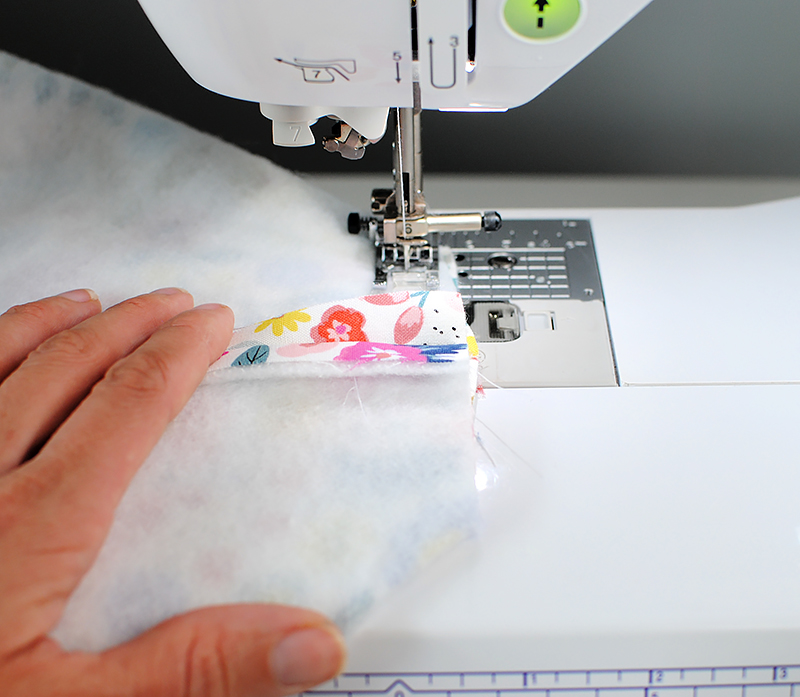 Stitch together and repeat for all corners. (1/2” seam allowance).
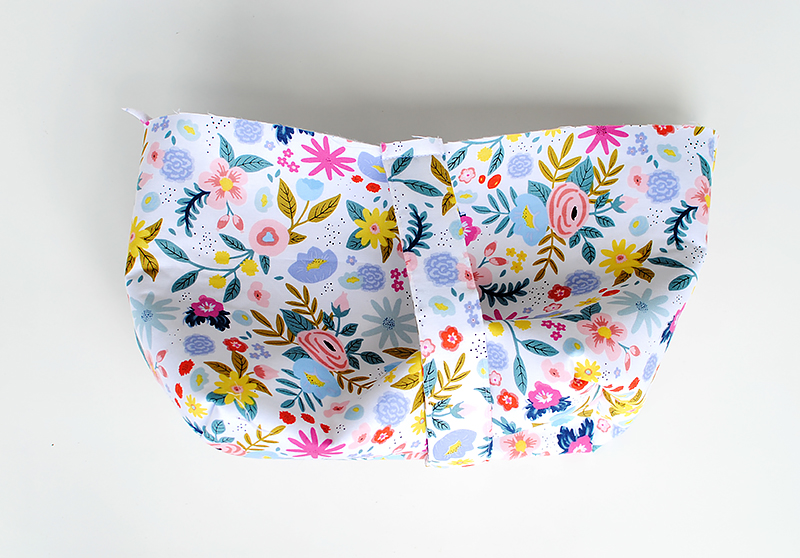
 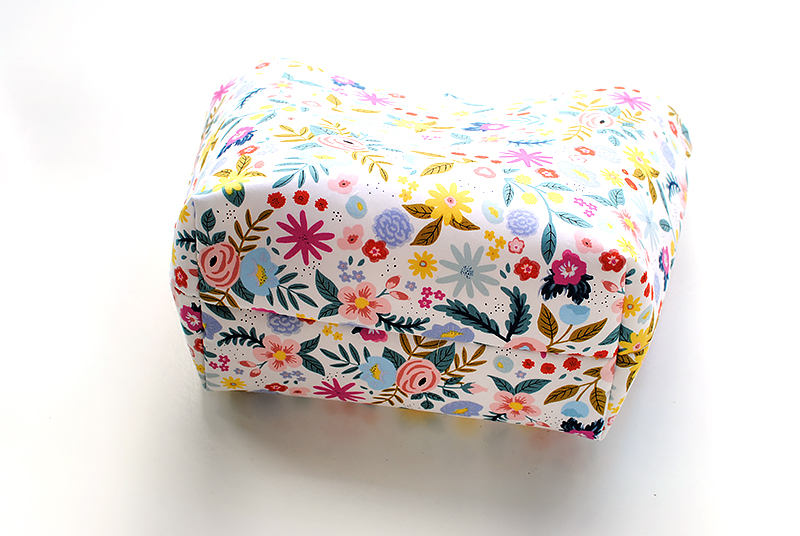 The bottom should look like this when complete.
 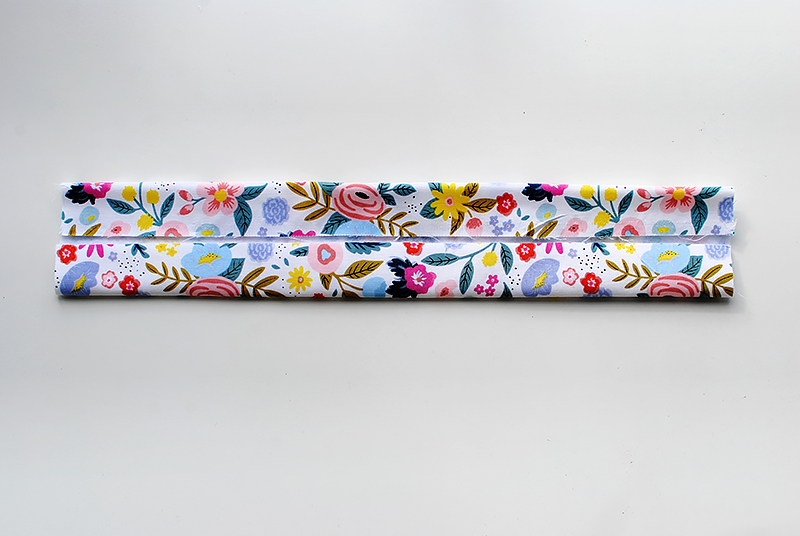 Now let’s sew the handle (optional and can be placed on sides as well)
Fuse the fleece to the wrong side.
Fold the sides into the center and press.
 Fold in half so the edges are together and press.
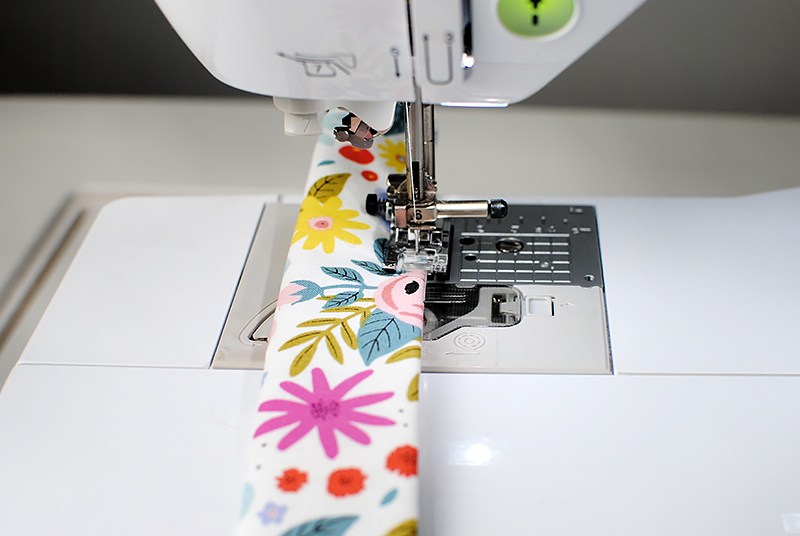
 Top stitch down both sides (about 1/8” from the edge).
 Find the center front and center back
of the basket and mark. Place the handle right sides together with the basket over those marks and sew (1/4” seam allowance).
 Flip the basket so right sides are out including the handle.
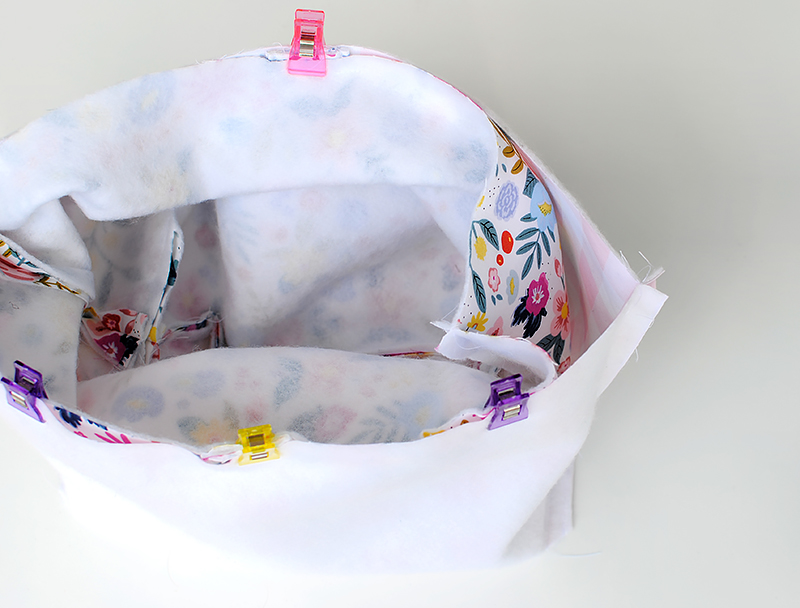
 Place the basket into the liner so the right sides are together. Attach seams to seams and pin or clip all the way around.
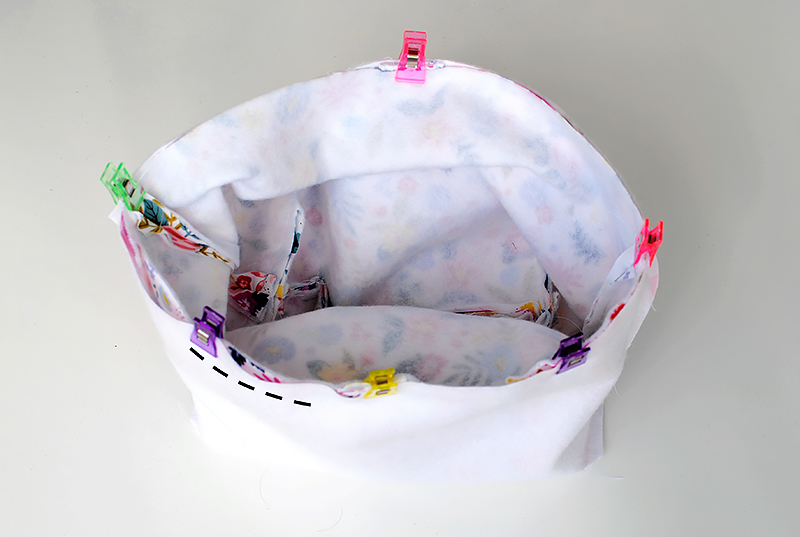
 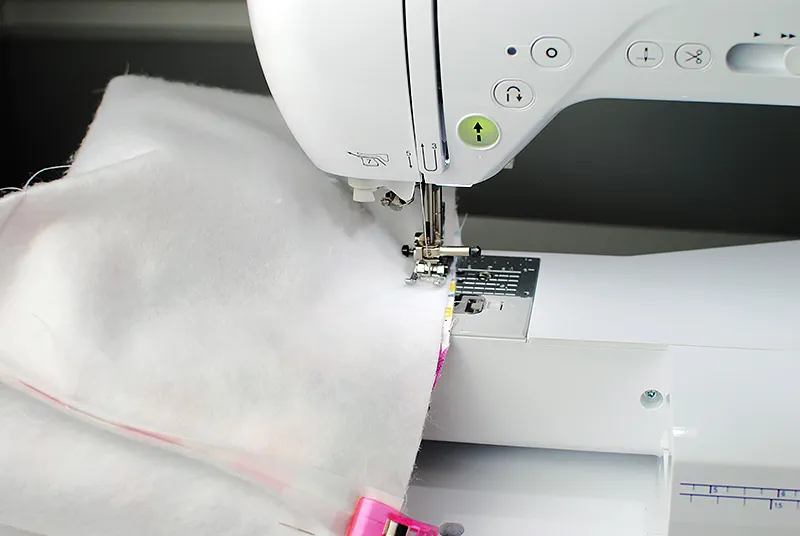 Sew ½” seam allowance all the way around the edge leaving a 3” opening just an inch off one of the handles. This will be the opening to flip right sides outs.
 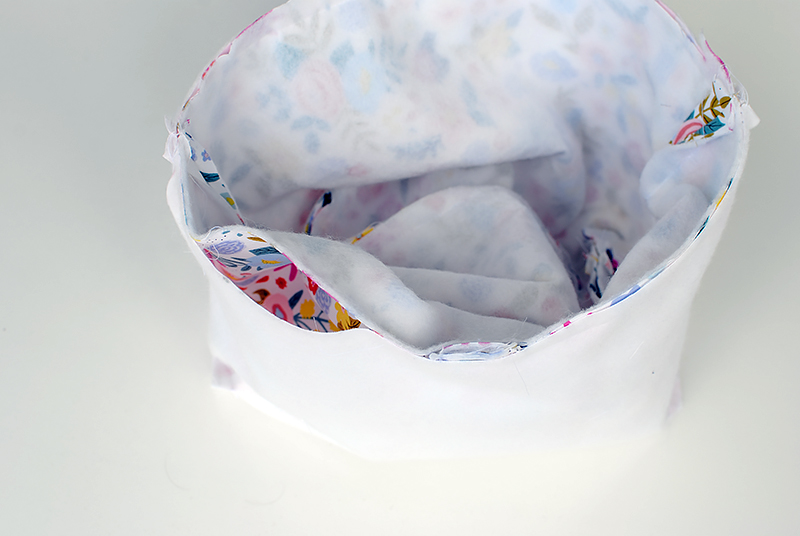 Flip right sides out through the opening.
 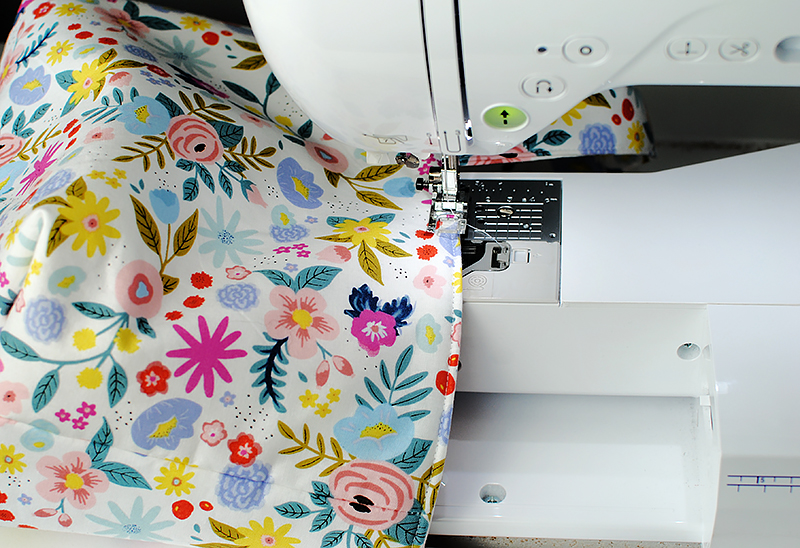 Press the basket. Top stitch with a 3.0 stitch length and just off the edge (1/8” or so) around the top edge of the basket, closing the opening as well.
The finished result of the project above! How cute!
No comments:
Post a Comment
Note: Only a member of this blog may post a comment.